Crochet Pumpkin Candy Bag — Halloween Treat Tote
Make a ribbed pumpkin-shaped crochet treat bag with a sturdy stitched handle. Follow the base, textured body, shaping, rim and handle rounds.
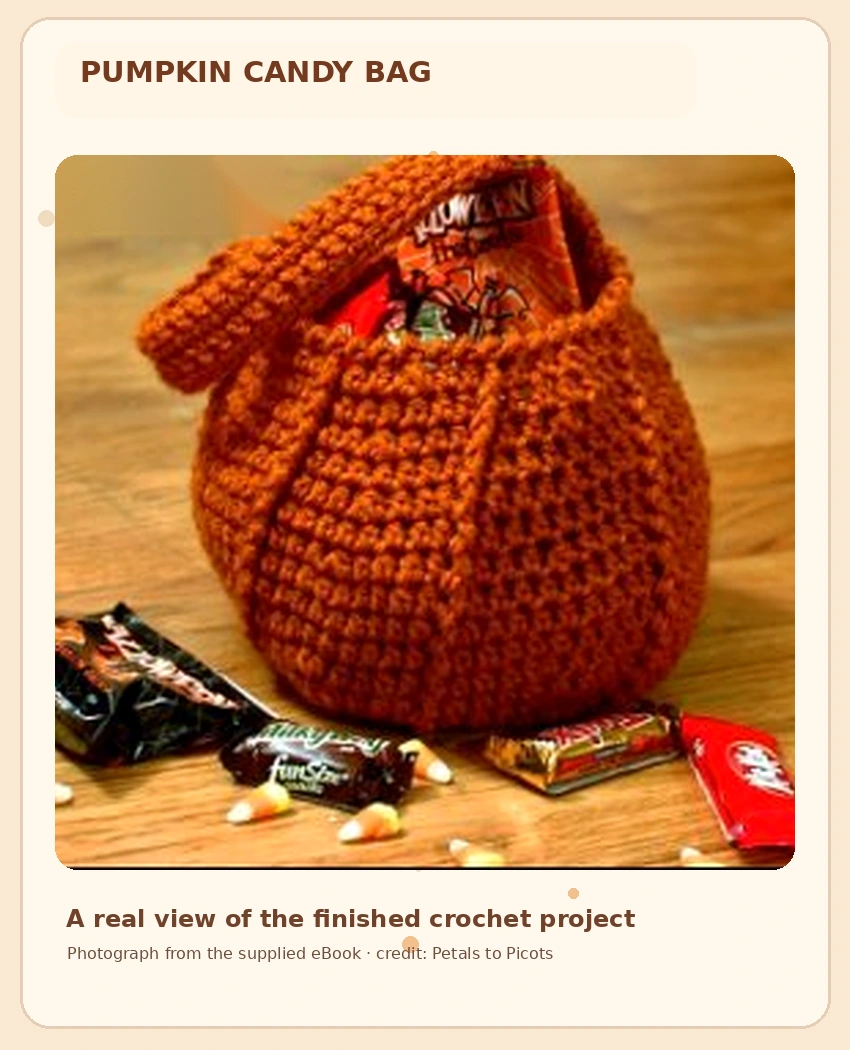
Project details & close-ups
Each pattern has its own set of useful visual references
✳ Gather your supplies
- Orange medium-weight (worsted/aran) acrylic or cotton yarn
- 5 mm (H/8) crochet hook
- Tapestry needle for sewing the handle and weaving in ends
- Scissors and a stitch marker (helpful extras)
Welcome, autumn! This little candy carrier begins as a flat round base, grows into a plump, ribbed pumpkin shape, and finishes with a softly textured rim and a separate handle. The original design uses orange yarn throughout—no stitched-on face, leaves or closure required. Let the distinctive raised columns do the decorating.
A crocheted pumpkin-shaped bag you can fill with wrapped sweets, use as a seasonal gift basket, or bring along for trick-or-treating.
Before you pick up your hook
The pattern begins with a magic ring. The starting chain-2 counts as a stitch throughout the joined-round body unless a round says otherwise. At the end of each round, join as directed. Place a stitch marker at the round join to help you track your increases and decreases.
Your crochet shorthand (US terms)
| Abbreviation | Meaning |
|---|---|
| ch | Chain |
| st / sts | Stitch / stitches |
| hdc | Half double crochet |
| sc | Single crochet |
| FPdc | Front-post double crochet, worked around the post of the stitch below |
| hdc2tog | Half-double-crochet two stitches together (decrease) |
| BLO | Back loop only |
| rev sc | Reverse single crochet (crab stitch) |
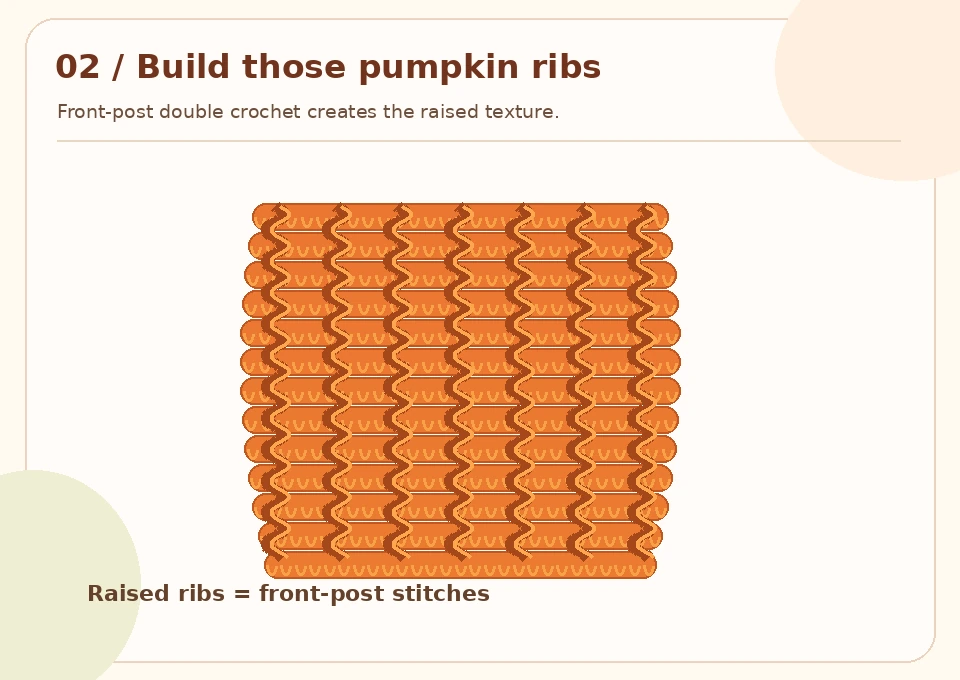
For FPdc, yarn over, insert your hook from front to back to front around the specified stitch post, draw up a loop, and finish a double crochet. For hdc2tog, yarn over, draw up a loop in each of the next two stitches, then yarn over and draw through all five loops. These raised and decreasing stitches create the pumpkin’s texture and curve.
Part 1 · Start with the round base
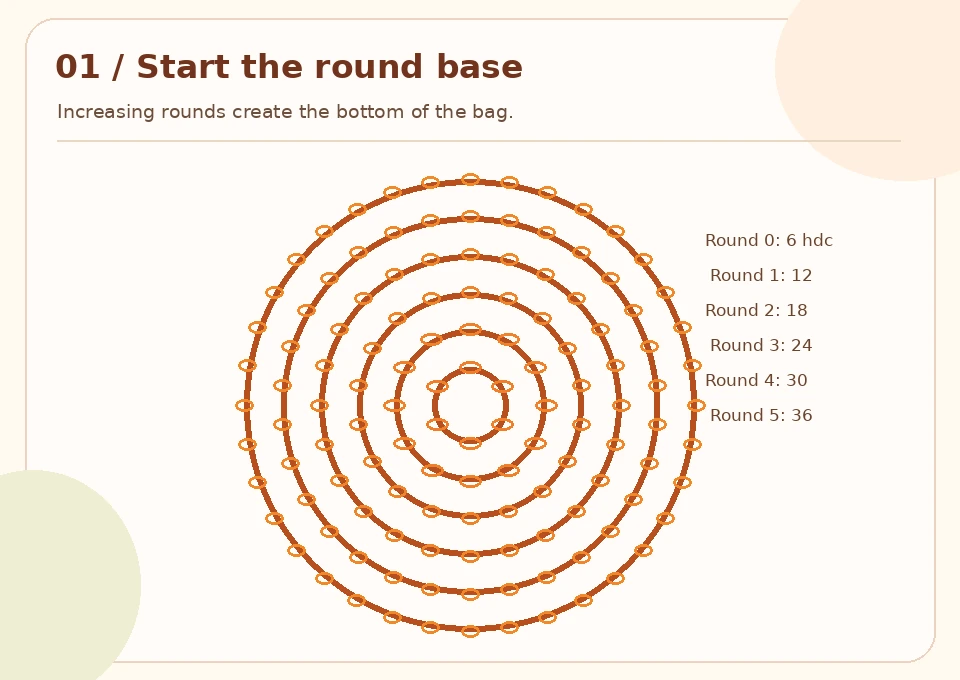
Keep working in orange yarn. The early rounds expand by six stitches each time.
| Round | What to crochet | Total |
|---|---|---|
| Foundation | Make a magic ring. Ch 2 (this counts as a stitch), work 5 hdc into the ring, then join. | 6 |
| 1 | Ch 2, 1 hdc in the joining stitch, then 2 hdc in each remaining stitch; join. | 12 |
| 2 | Ch 2, 1 hdc in joining stitch, 1 hdc in next stitch; repeat (2 hdc in next stitch, 1 hdc in next stitch) around; join. | 18 |
| 3 | Ch 2, 1 hdc in joining stitch, 1 hdc in each of the next 2 stitches; repeat (2 hdc in next stitch, 1 hdc in each of next 2 stitches) around; join. | 24 |
| 4 | Ch 2, 1 hdc in joining stitch, 1 hdc in each of the next 3 stitches; repeat (2 hdc in next stitch, 1 hdc in each of next 3 stitches) around; join. | 30 |
| 5 | Ch 2, 1 hdc in joining stitch, 1 hdc in each of the next 4 stitches; repeat (2 hdc in next stitch, 1 hdc in each of next 4 stitches) around; join. | 36 |
Part 2 · Give the pumpkin its raised ribs
The next rounds turn your base upward, then create the vertical lines that make the fabric resemble a real pumpkin. The original design alternates textured rounds with rows that increase the circumference.
| Round | What to crochet | Total |
|---|---|---|
| 6 | Ch 2; working in back loops only, hdc once in every stitch; join. | 36 |
| 7 | Ch 2; repeat: FPdc around the hdc directly below, hdc in next 2 stitches, 2 hdc in next stitch, hdc in next 3 stitches; join. | 42 |
| 8 | Ch 2; repeat: FPdc around the hdc directly below, hdc in next 7 stitches; join. | 42 |
| 9 | Ch 2; repeat: FPdc around the hdc directly below, hdc in next 3 stitches, 2 hdc in next stitch, hdc in next 3 stitches; join. | 48 |
| 10 | Ch 2; repeat: FPdc around the hdc directly below, hdc in next 8 stitches; join. | 48 |
| 11 | Ch 2; repeat: FPdc around the hdc directly below, hdc in next 3 stitches, 2 hdc in next stitch, hdc in next 4 stitches; join. | 54 |
| 12–14 | On each round, ch 2; repeat: FPdc around the hdc directly below, hdc in next 9 stitches; join. | 54 each |
The EPUB describes the FPdc placement as working around the “hdc directly below.” Some of its written repeat groups are terse relative to the totals printed for the round. I’ve preserved the source wording and totals instead of guessing a correction. Check the rib placement and stitch count on your actual bag as you go.
Part 3 · Shape the rounded top
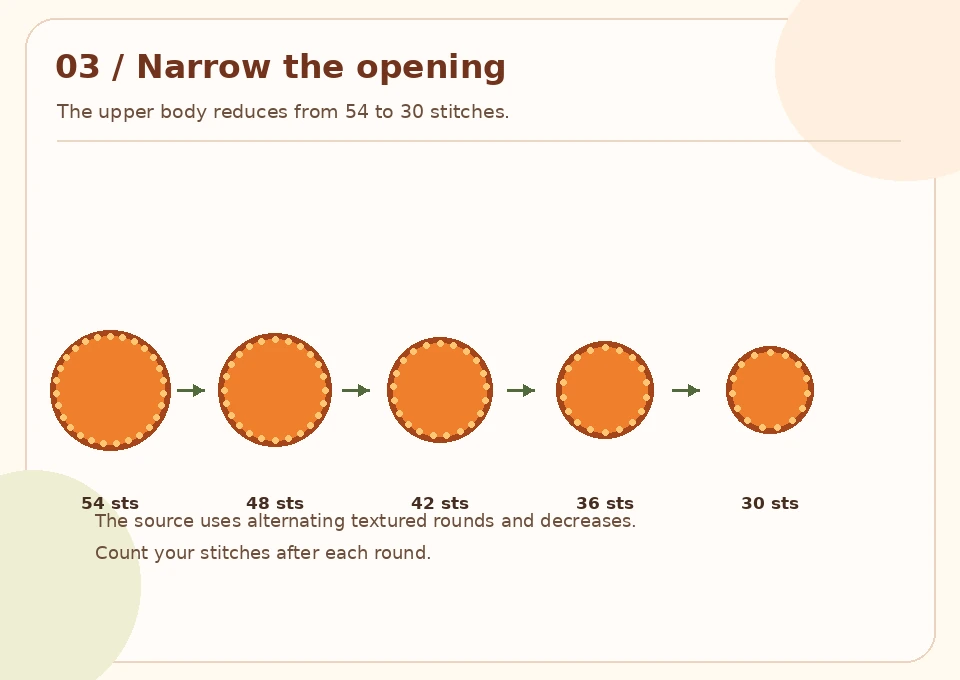
From here, the decreases bring the sides gently inward. Keep using the same raised-stitch texture.
| Round | What to crochet | Total |
|---|---|---|
| 15 | Ch 2; repeat: FPdc around the hdc directly below, hdc in next 4 stitches, hdc2tog, hdc in next 3 stitches; join. | 48 |
| 16 | Ch 2; repeat: FPdc around the hdc directly below, hdc in next 8 stitches; join. | 48 |
| 17 | Ch 2; repeat: FPdc around the hdc directly below, hdc in next 3 stitches, hdc2tog, hdc in next 3 stitches; join. | 42 |
| 18 | Ch 2; repeat: FPdc around the hdc directly below, hdc in next 7 stitches; join. | 42 |
| 19 | Ch 2; repeat: FPdc around the hdc directly below, hdc in next 3 stitches, hdc2tog, hdc in next 2 stitches; join. | 36 |
| 20 | Ch 2; repeat: FPdc around the hdc directly below, hdc in next 6 stitches; join. | 36 |
| 21 | Ch 2; repeat: FPdc around the hdc directly below, hdc in next 2 stitches, hdc2tog, hdc in next 2 stitches; join. | 30 |
Part 4 · Add a softly corded rim
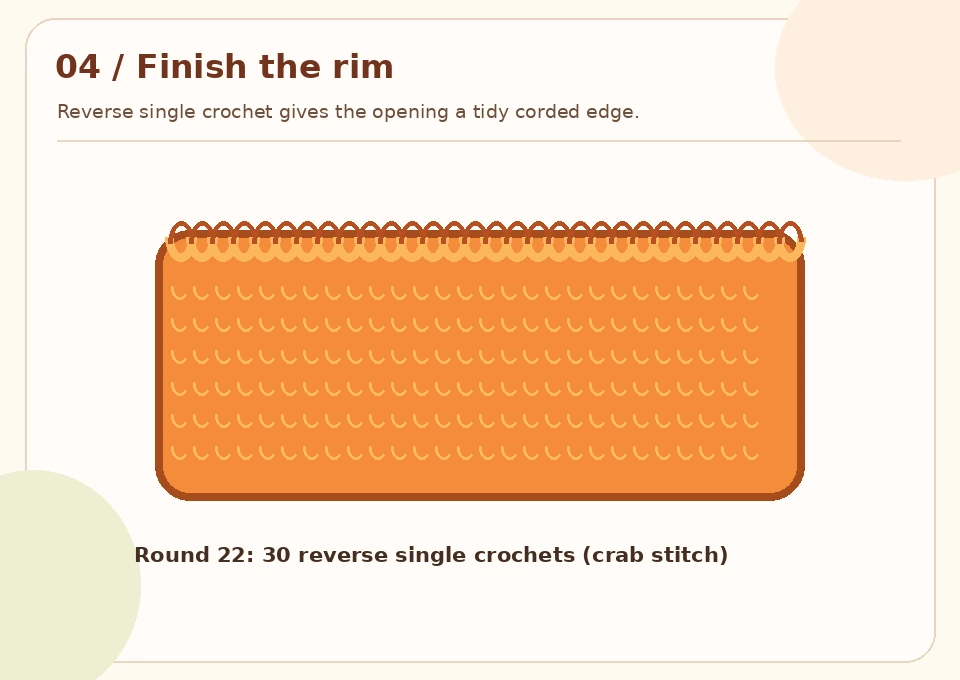
Round 22: Ch 1, which does not count as a stitch. Reverse direction, working back across the stitches just made. Work 1 reverse sc in each stitch around the opening, then join (30 stitches). Fasten off and weave in the yarn ends.
Part 5 · Crochet the carrying handle
Make the handle with the same orange yarn.
| Step | Instructions | Total |
|---|---|---|
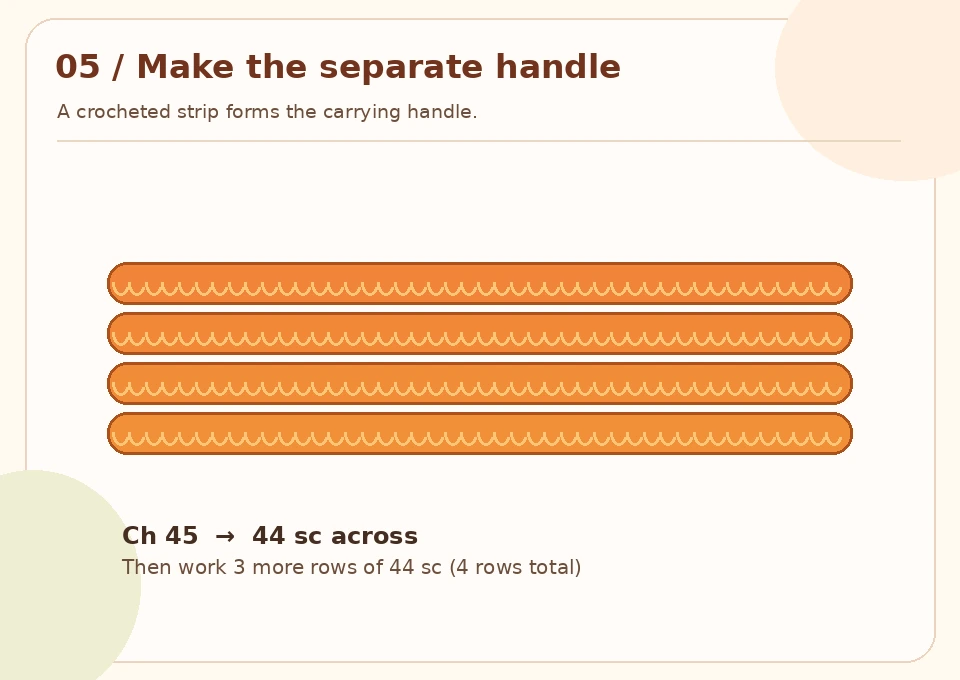
| Foundation | Chain 45. | — |
| Row 1 | Starting in the 2nd chain from the hook, sc in every chain across; turn. | 44 |
| Rows 2–4 | Ch 1 (does not count as a stitch), then sc across all 44 stitches; turn after each row. | 44 each |
Fasten off, leaving a long enough yarn tail to attach one end of the strap to the body.
Part 6 · Sew it together
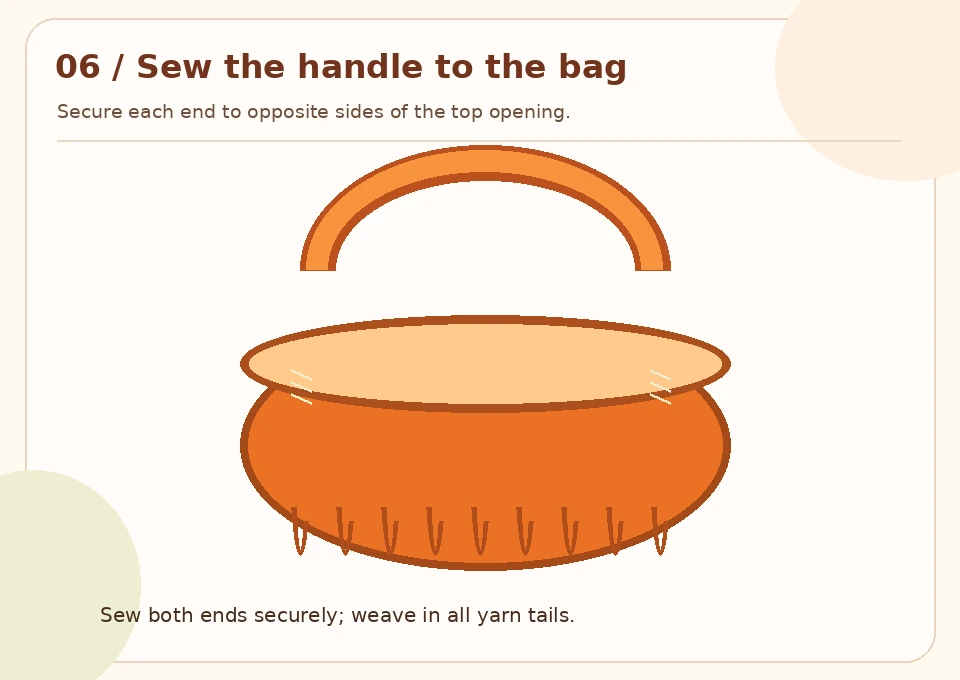
Lay the handle flat and check that it isn’t twisted. Using the same orange yarn and a tapestry needle, sew its two ends to opposite sides of the pumpkin bag. Stitch back and forth through several rows to secure the points that bear the weight. Weave in all remaining tails.
It’s pumpkin-picking time!
That’s the complete pattern: a flat base, textured sides, a shaped opening, a neat rim, and one simple carrying strap. Add wrapped candy and enjoy your handmade Halloween treat bag.
A few helpful notes
- Want to personalize it? Try a different shade of orange or stitch a small motif to the finished bag. These are optional ideas, not steps from the source pattern.
- Using different yarn? The finished dimensions can change with yarn, hook, and tension.
- Carrying sweets? The original pattern has no lining or closure. Test the handle seam and avoid overloading it.
- Print-friendly page: Use the Print pattern control beneath the tutorial to print or save it through your browser.