Your First Crochet Chain
A slow, simple guide to the slip knot and chain stitch every crocheter learns first.
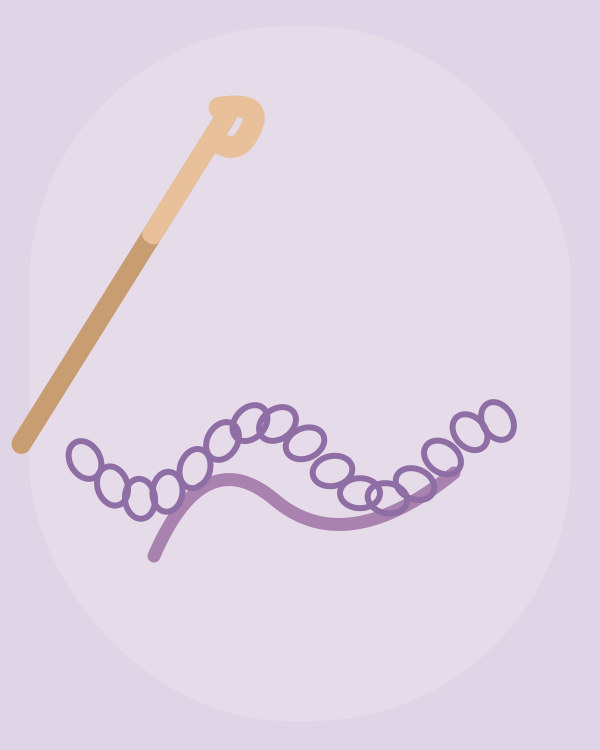
✳ Gather your supplies
- Medium-weight, smooth yarn in a light color
- A 5 mm crochet hook
- A comfortable place to practice
Every crochet project begins with a small moment: yarn on a hook, ready to become something new. Let’s make your very first chain.
Step 1 — Make a slip knot
- Leave a short tail of yarn, about 15 cm (6 in).
- Make a loop, then pull a bight of the working yarn through the loop.
- Place the new loop on your hook and gently tighten it so the loop can slide freely.
Step 2 — Hold your yarn and hook
Hold your hook in whichever way feels natural—like a pencil or a small knife. With your other hand, gently guide the working yarn to keep an even tension.
Step 3 — Make a chain stitch
- Bring the working yarn over your hook from back to front. This is a yarn over.
- Pull that yarn-over loop through the loop already on your hook.
- You just made one chain stitch! Repeat until you have a chain of about 15 stitches.
Step 4 — Practice your rhythm
Look for little V shapes along your chain. Try keeping them approximately the same size—not too tight, not too loose.
Beginner tip: Your first chain might curl, twist, or look uneven. That’s normal. Make another one and notice how your hands grow more comfortable.
What’s next?
Once your chain feels comfortable, you’re ready to learn the single crochet stitch and begin making rows.
This is a sample tutorial template. Please replace examples with your own tested instructions and original project photos before publishing.